


Latest Posts
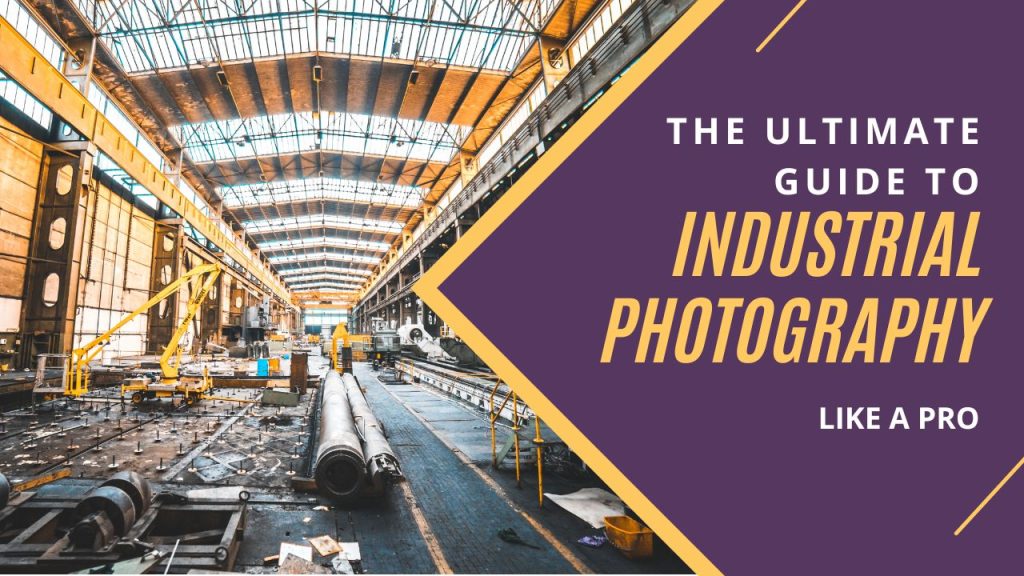
Industrial Photography Tips, Techniques, and Equipment for Capturing Stunning Images
Industrial photography is a specialized and technical field that requires a unique set of skills, equipment…

Flat Lay Clothing Photography Tips and Tricks: The Ultimate Guide for Stunning Results
Flat lay photography is a popular technique used in the fashion industry to showcase clothing and…
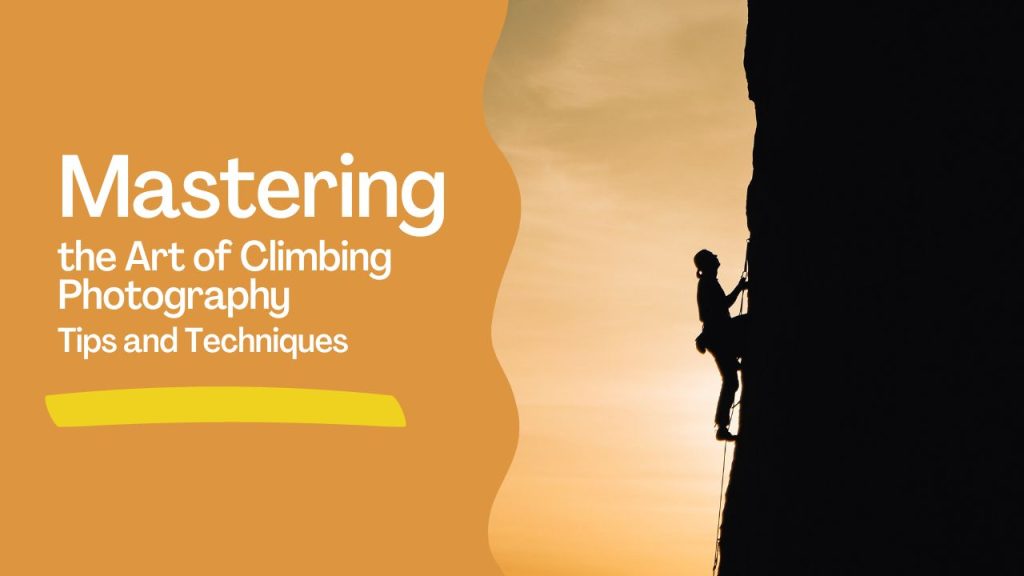
Climbing Photography Tips: Mastering the Art of Climbing Photography
Climbing photography is a unique and challenging genre of photography that requires a combination of technical…
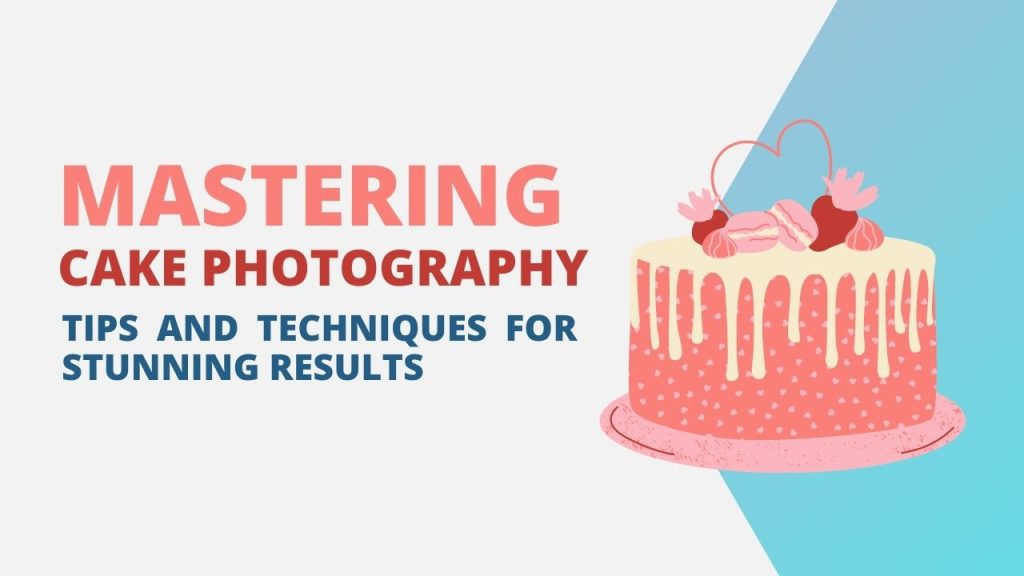
Cake Photography Tips: Mastering Techniques for Stunning Results
Cake photography is an essential aspect of the cake making industry. As a cake maker, it’s…


Subscribe To Newsletter
Most Popular Posts
Stay Always In Touch!
Subscribe To Our
Newsletter.
Get all the latest blog updates, offers and special tips instantly in your mail. Subscribe to our awesome newsletter!
